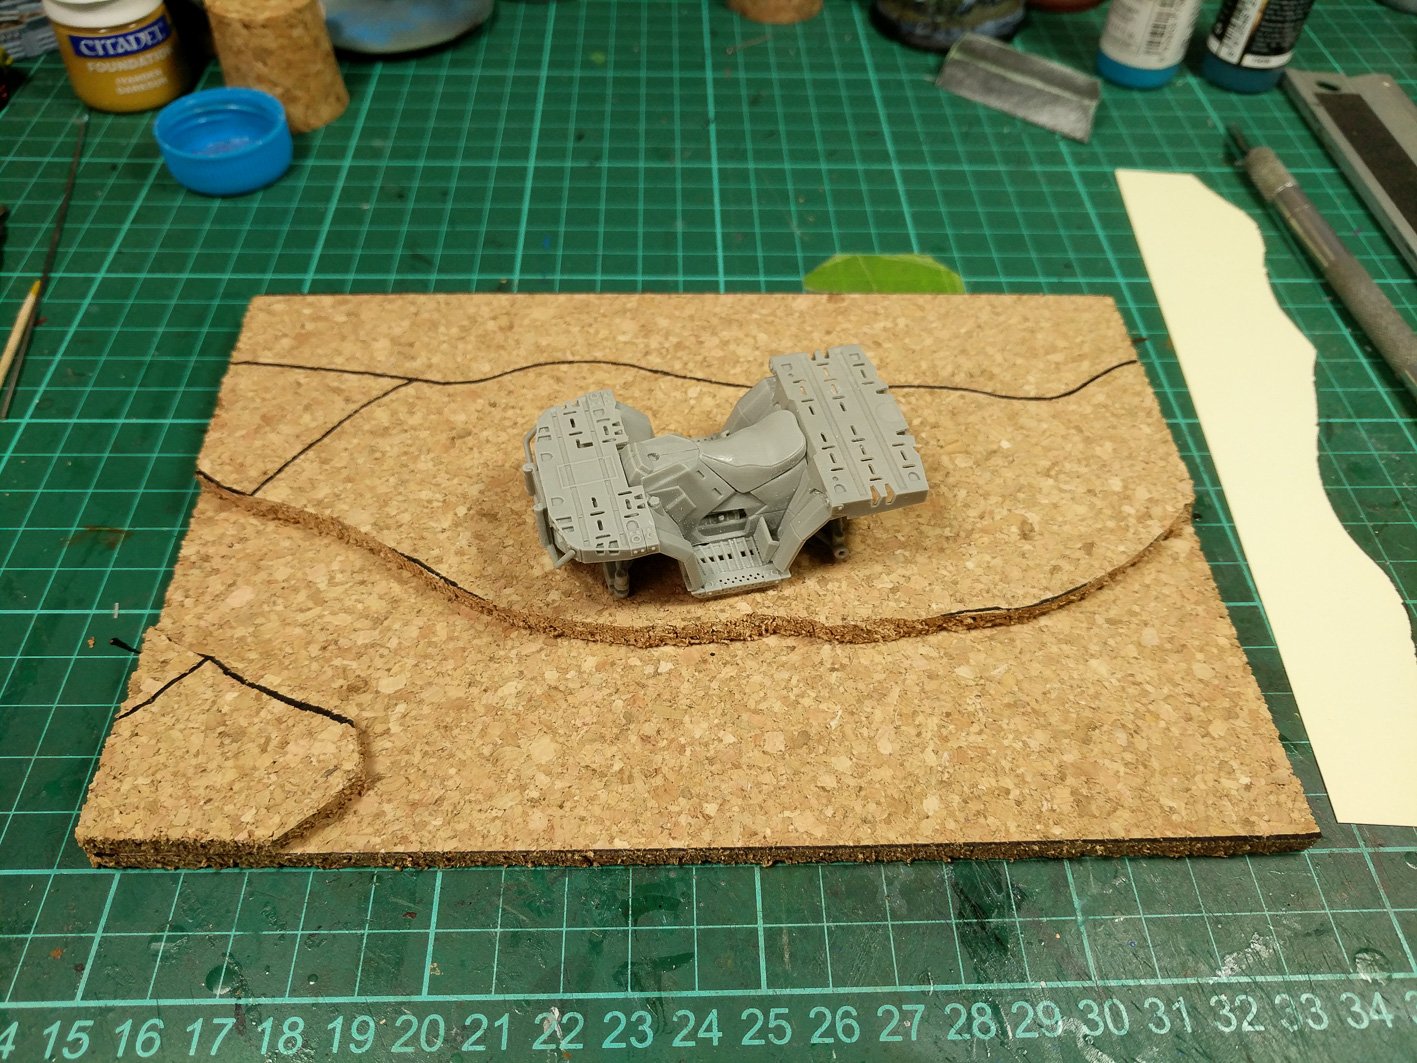
No gaming this week and I’ve been back on the road for a few days so haven’t spent much time working on either Wild West Exodus or Necromunda but I have managed to do a few things on the hobby front. First of all the ATV I had ordered turned up so I’ve been putting that together which has been something of a learning curve. Because this is a scale model as opposed to a gaming piece the resin used is very hard so that it can provide the level of detail required for this type of model. The result was that I managed to break a few parts when I was clipping them from the sprue. It didn’t take me long to work out a way of getting the fine parts off without damage but it did turn out to be a lot more time consuming, but worth the effort. I still have a lot more parts to go on this in the way of weapons and equipment but I wanted to get a feel for the size of the model so that I could work out how big the base would need to be for the diorama. Which is what I’ve spent most of the week working on.
So with the core of the ATV as a size guide I cut out a piece of cork sheet that would act as the base of the diorama. Whilst I wasn’t exactly sure what I was going to do with the scene I did know that I wanted some elevation change at the front and a wall of some description at the back to act as backdrop. With this in mind I use some card as a template for the wall and then cut another piece of cork that would fit the wall and the ATV.


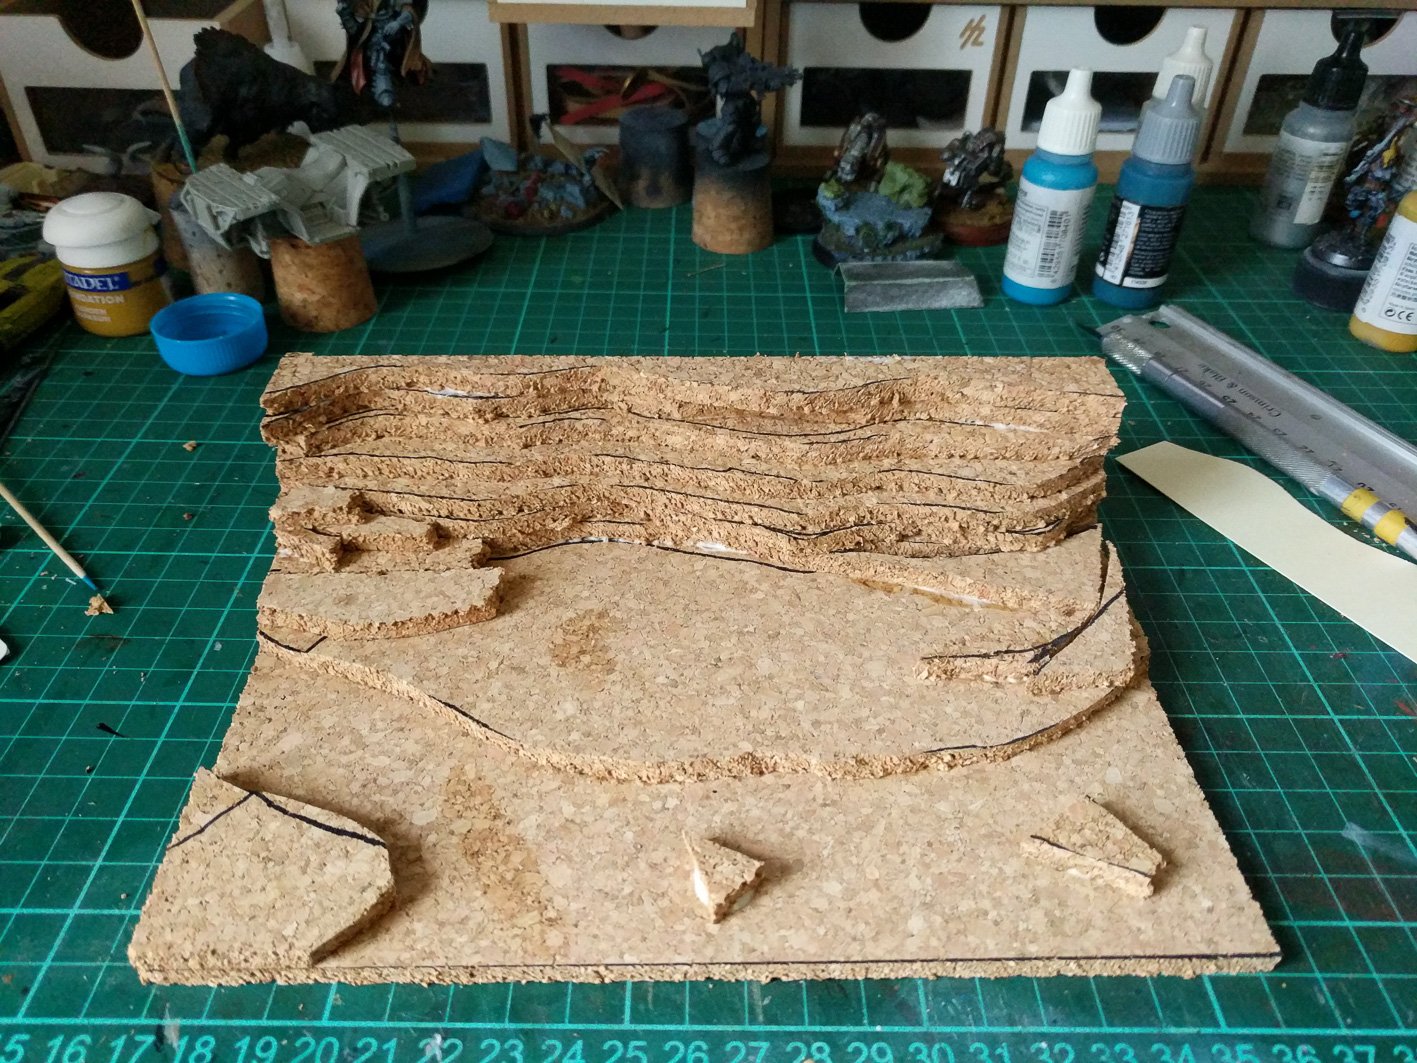
Next up I used another sheet of cork and cut out some strips that would be wide enough for the back wall. Then I used my card template to mark out the rough outline of the wall and started to cut the pieces to shape. I deliberately didn’t follow exactly the same contour as I wanted some irregularity. This left me with a number of large and small sections that I simple stacked on top of each other to build the wall. Because things still looked a little to uniform I used some of the scrap pieces I had to add some extra detail in the foreground and to the edges of the wall. All of this was simply glued together using PVA glue.


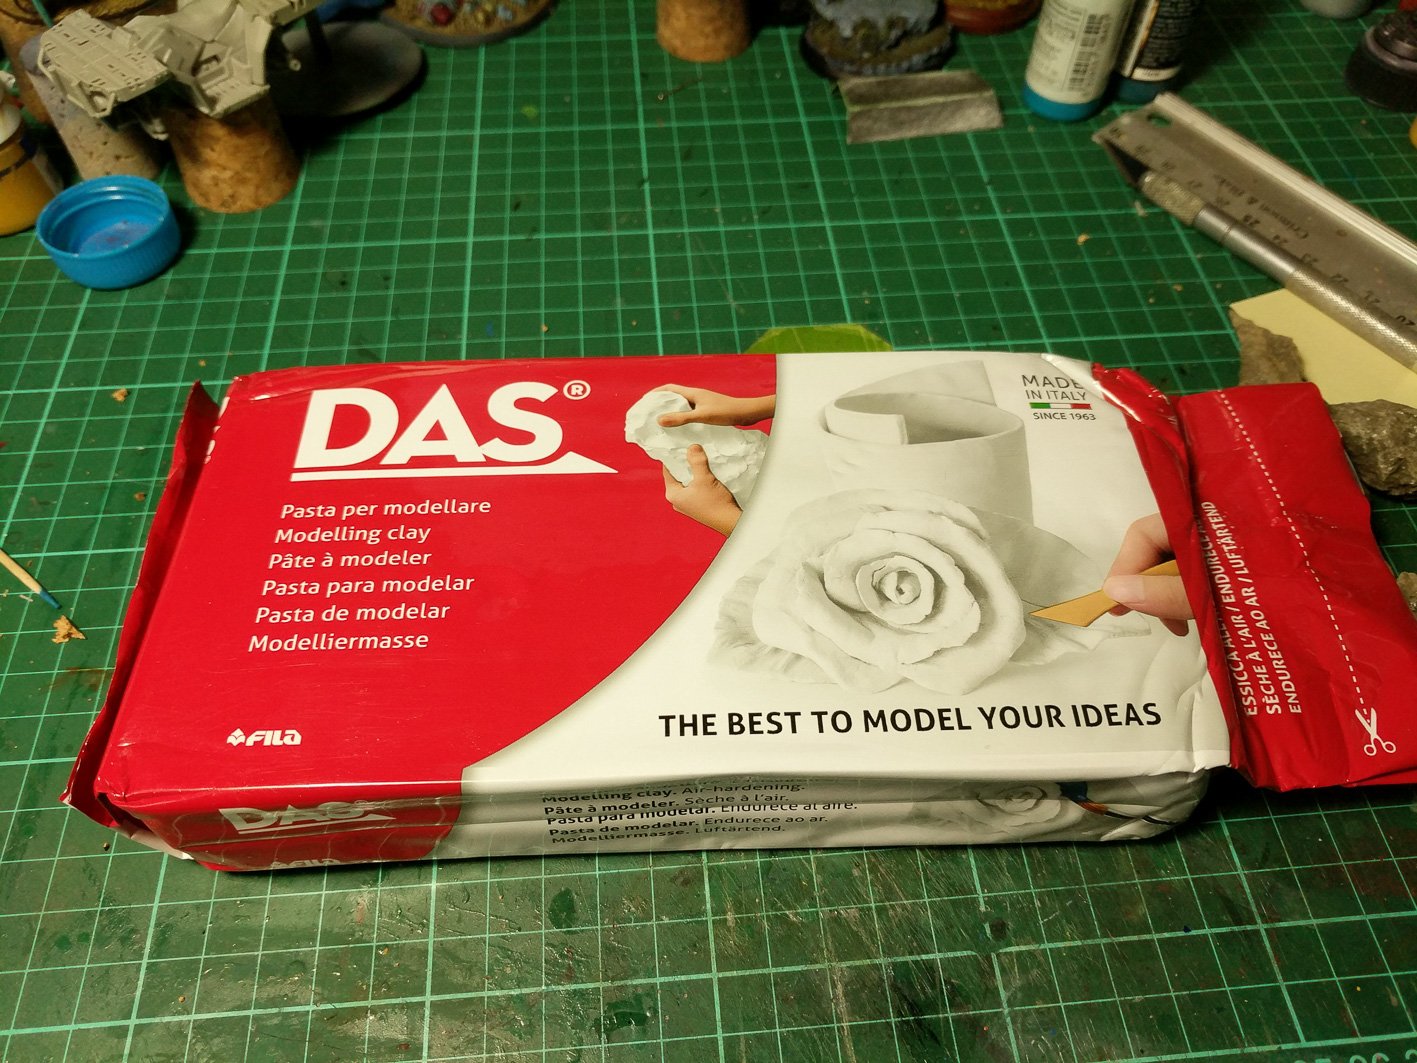
All of this was straight forward but it was the next step where things started to get interesting. I’d thought about using Miliput for this step but thought it would take a lot of mixing to get enough to cover this so I decided to go with air dry modelling clay.
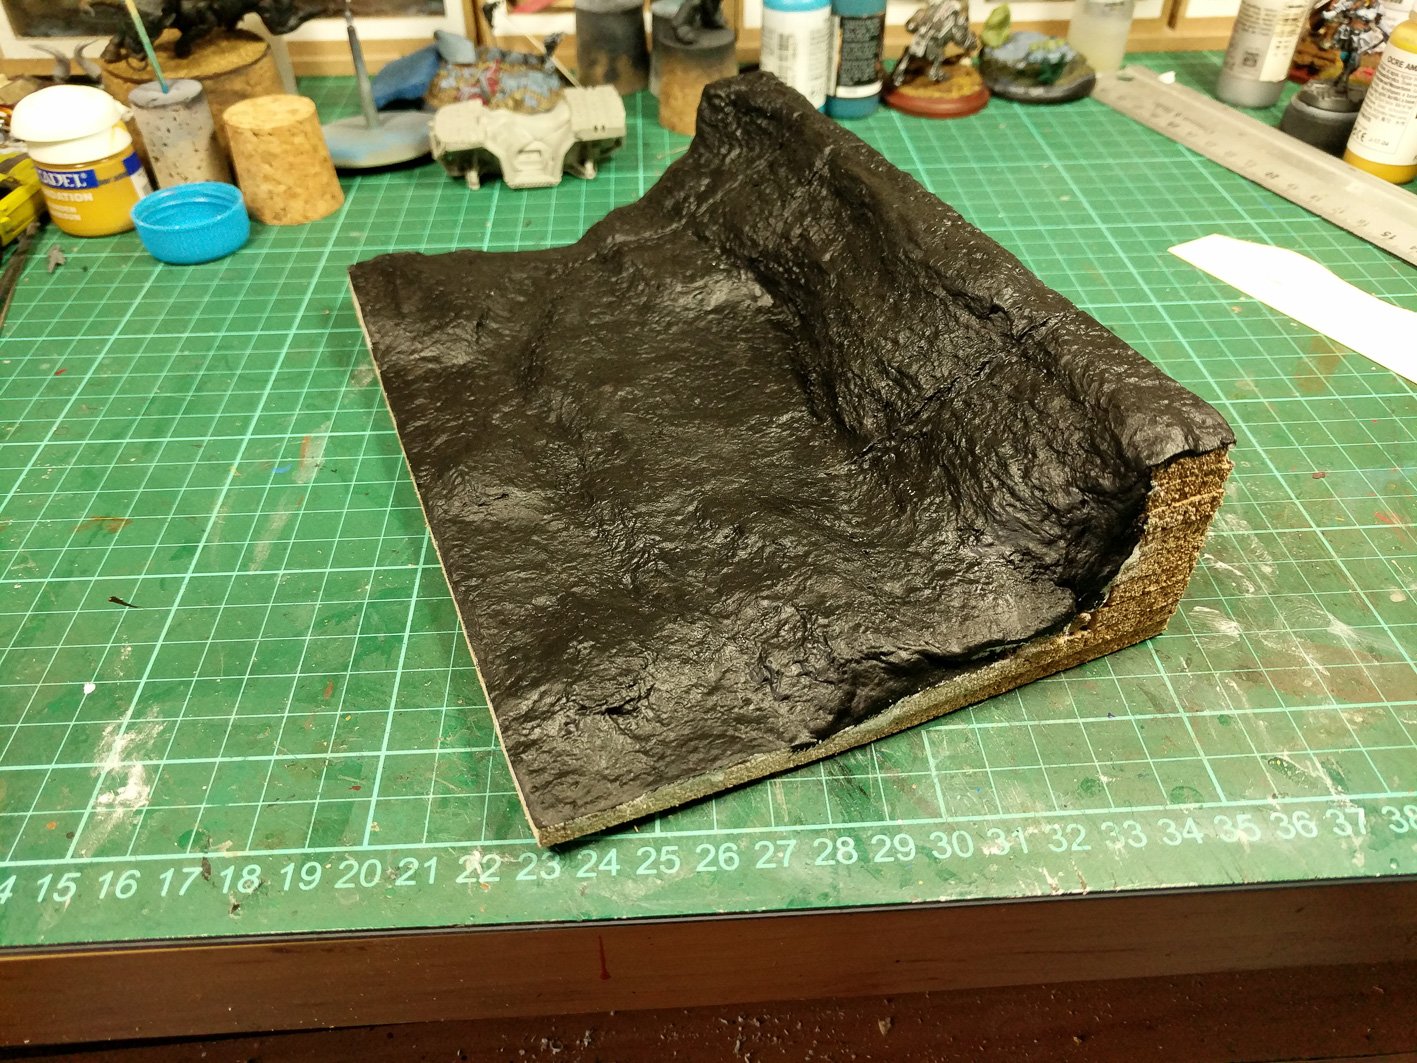
All I did was pick clumps out of the packet and start to press them onto the cork. I soon learned a couple of lessons which were that the clay sticks better where the is more texture, as you would expect and that having some water on hand to help you work the clay works really well. Other than those to bits it was just a process of adding the clay and then smoothing it out to cover a wider area. Once a bit was done it was get some more clay and repeat. There were a few bits where the clay was a bit thin which had an effect on the next step so if you have go at this it’s well worth working on getting a nice even coating of clay. Unfortunately I didn’t get any pictures of the clay before I added texture as my hands were a bit messy and I didn’t want to get it all over my phone. For the texture I had been out and picked up a selection of random stones that I simply dipped in water to prevent them sticking to the clay and then just went over the whole base pressing them into the clay to leave the texture. Nothing very complicated about it although having a good selection of textures on hand is something I need to build on. On a side note if wanted to use this technique for flooring you could probably pick up some paper embossing stamps to give a nice pattern. Not tried it yet but think it should work. Anyway I think the texturing worked out quite well.


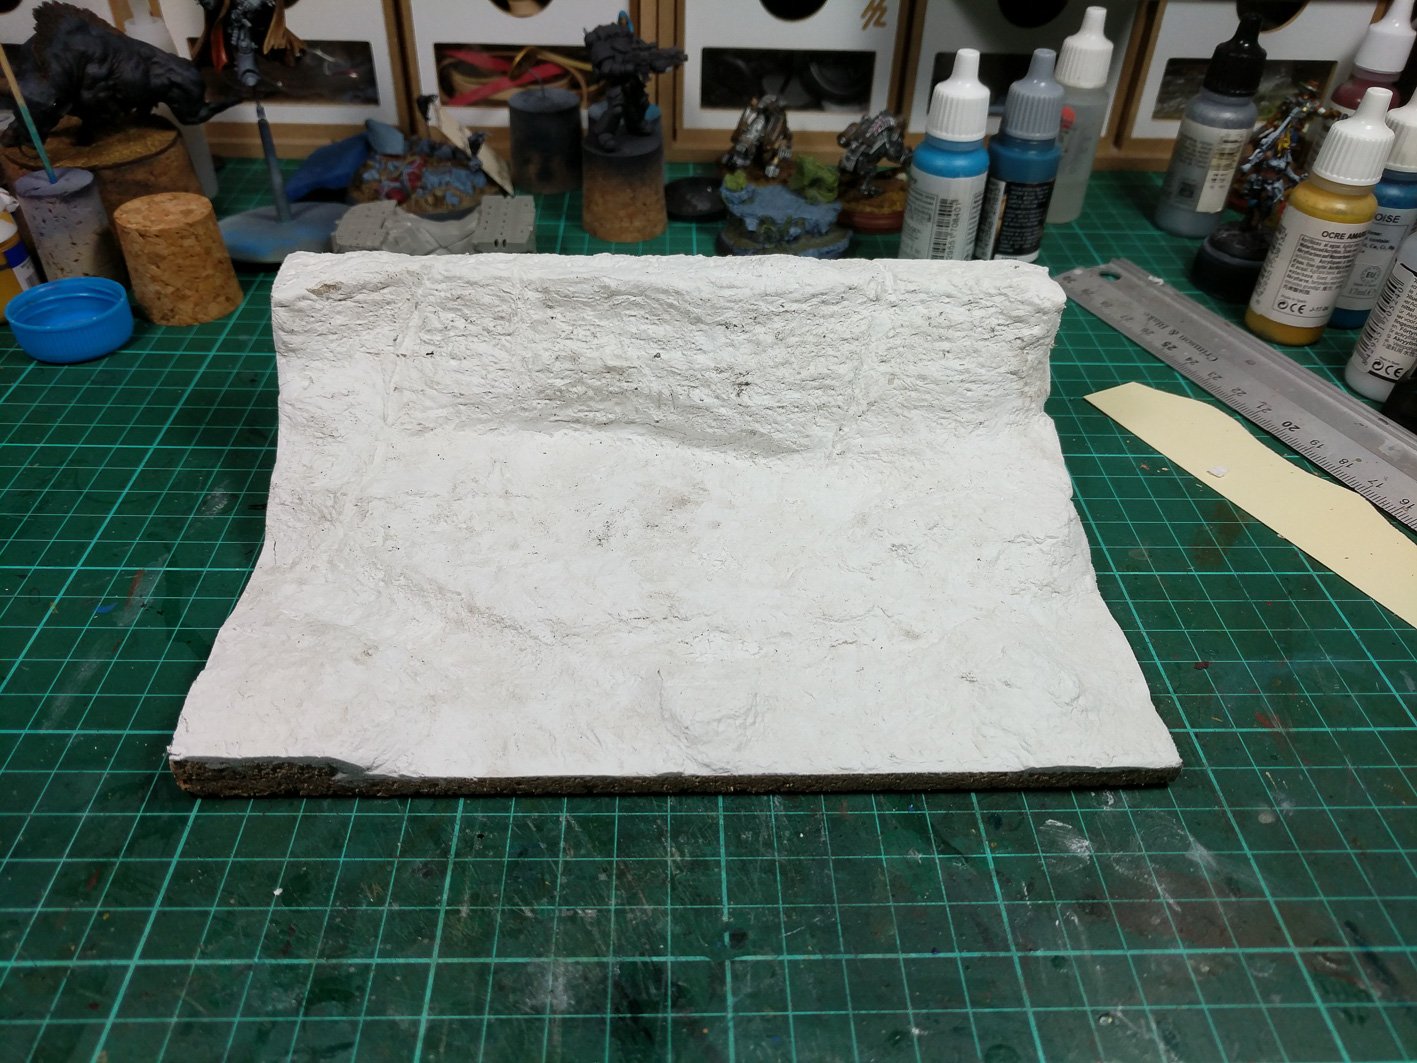
Once the plaster was dry I trimmed the edges up to clean it up a bit and then gave it lick of black primer. I did this with a brush but if you an air brush it would be much quicker and easier to use that than it is doing it with a brush. And once I start to put some colour on this I will be doing it with the airbrush. It did take the paint quite well and didn’t soak it up to much, nowhere near as bad as untreated MDF, but more than a resin model would.


Once the primer was dry and it had been left for a couple of days I noticed that bottom layer of cork sheet had warped a bit as everything dried out. I think the solution to this would be to fix the cork to a firmer base at the start of the process, something like a thick piece of plasticard. Again this worked out quite well for me as it’s a good lesson to learn early on and it took some of the pressure off the build as I decided that this was just going to be a test piece and it didn’t really matter how it turned out in the end. The key reasons for this were the warping of the base and at how untidy the sides and back of the model were. My ideas to deal with this are either to cover them with thin plastic card sheets or to add more of the clay to them and then sand this down to a nice smooth finish. Both are things I can try on future practice pieces.
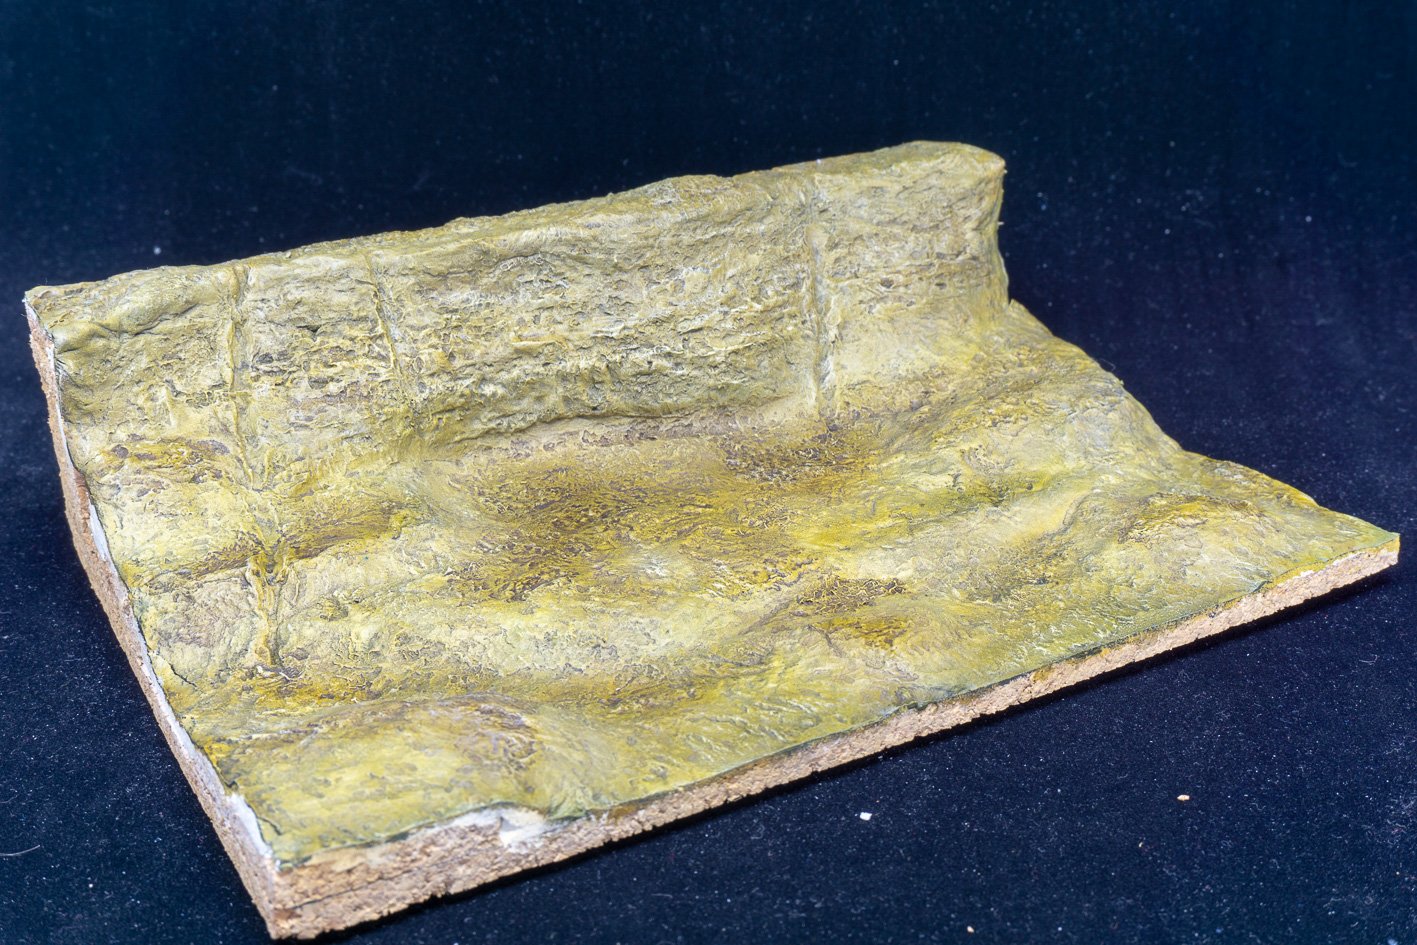
With all of that in mind I decide to throw some paint at it and see how it looked. I’ve not spent a lot of time on this but I’m quite happy with how it’s turned out. I simply used the air brush to add a brown over the primer and then a lighter brown dusted over this. With that done I gave it a couple of washes with a mix of brown and a yellow wash. I actually mixed them on the base by apply on colour and whilst it was still wet mixing a bit of the other. I was trying to get a more natural effect and considering it didn’t know what I was doing I really like how it’s turned out. The fact the wash has naturally pooled in places water would pool on the base I think gives it a more natural feel. I then gave it a bit of dry brush to through in some highlights and there you go.


I’m liking how things have gone with all of this and it’s got me thinking of different ways of using this sort of material. One would be to look and see if it’s possible to get some coring drill bits in a range of sizes that will match up with different base sizes. That way you could make up a mini diorama and use it as movement tray / display base by coring out the areas you want to put your minis and then trimming down the pieces you cut out to work as base toppers for you models. Not sure if this would actually work but I think it’s worth investigating. This process should also work on a smaller scale for display bases and will be something I will be investigating in the not too distant future.
That’s it for this week. It’s been quite a focused update with an unfinished base as the end result but I think this has been a lot more about the journey than the destination. All in all I’m really happy with how things have turned out and I’ve learned a lot so feel it’s been a productive week. Hope you’ve all had a good week with a great week ahead of you and I’ll catch you all again next week.